Easy Butterfinger Balls
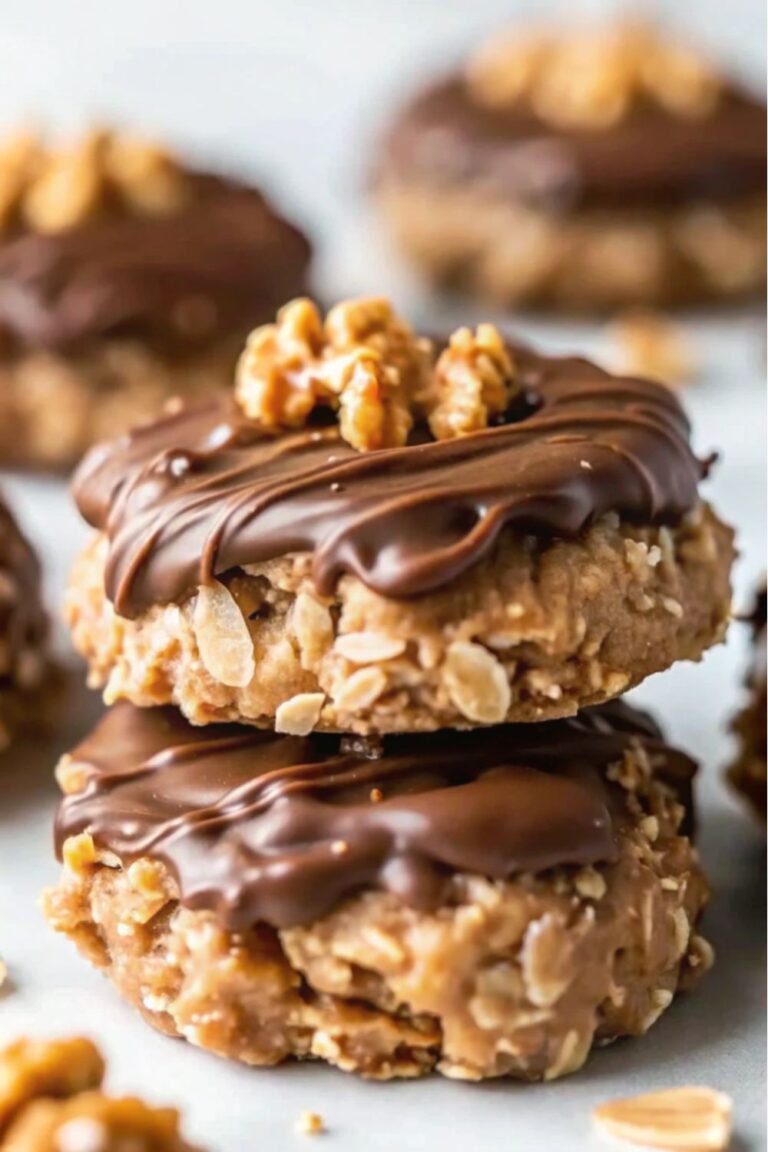
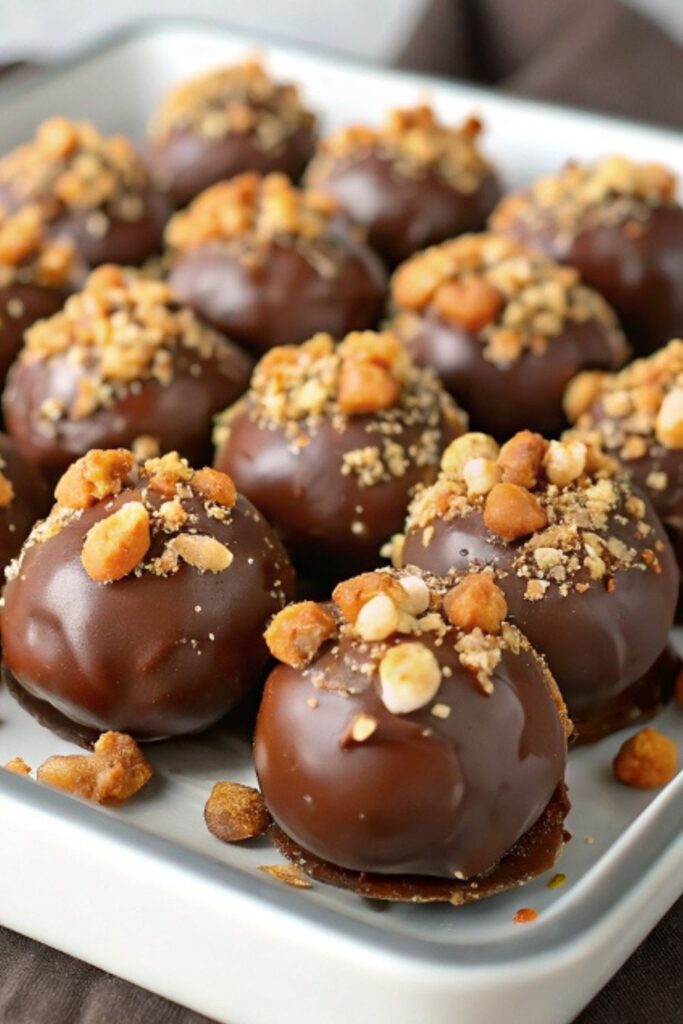
Craving a no-bake dessert that’s irresistibly sweet, crunchy, and coated in chocolate? These Easy Butterfinger Balls are the perfect solution! With just a handful of ingredients, you can whip up a batch in no time, making them ideal for parties, holidays, or a quick indulgence.
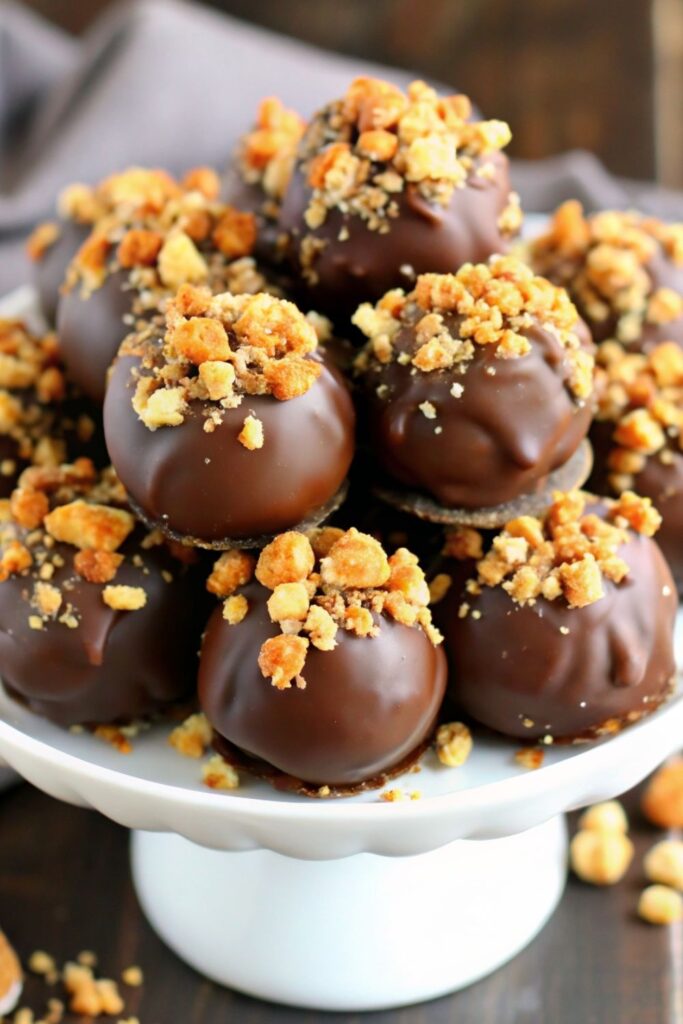
The combination of creamy peanut butter, crushed Butterfinger candy bars, and smooth chocolate creates a texture and flavor that will have everyone coming back for more. The best part? You don’t even need to turn on the oven!
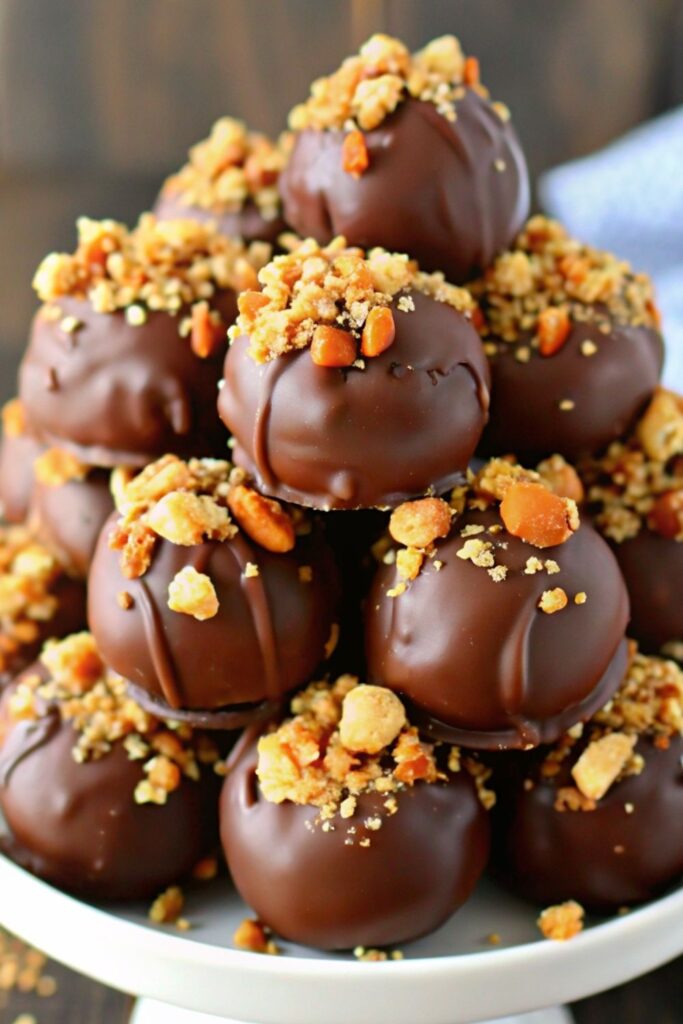
These bite-sized treats are great for making ahead, as they store well in the fridge or freezer. Whether you’re preparing for a bake sale, holiday tray, or just a personal treat, this simple recipe is sure to be a hit.
Keep reading for the full recipe, along with expert tips, flavor variations, and perfect pairing ideas to take your Butterfinger Balls to the next level.
Why You’ll Love This Recipe
- No-Bake & Easy: Minimal effort and no oven required—perfect for quick treats.
- Irresistible Flavor: Crunchy Butterfinger pieces combined with creamy peanut butter and smooth chocolate create an unforgettable taste.
- Make-Ahead Friendly: Great for preparing in advance for parties, holidays, or gifting.
- Customizable: Simple ingredient swaps can create new flavor variations (see below!).
Perfect Pairings
- Milk: A glass of cold milk complements the rich, chocolatey flavors.
- Coffee: The bitterness of coffee balances the sweetness of these treats.
- Ice Cream: Crumble a few Butterfinger Balls over vanilla ice cream for a next-level dessert.
- Salted Nuts: A handful of salted almonds or cashews pairs beautifully with the sweetness.
Tips for Success
- Use Fresh Butterfingers: The crunchier the candy bars, the better the texture.
- Chill Before Dipping: This helps prevent the balls from falling apart in the melted chocolate.
- Thin the Chocolate: Adding coconut oil or vegetable shortening helps create a smoother coating.
- Work Quickly: Melted chocolate can harden fast, so dip efficiently!

Easy Butterfinger Balls
Ingredients
- 2 cups crushed Butterfinger candy bars
- 1 cup creamy peanut butter
- 1 cup powdered sugar
- 2 cups chocolate chips milk or semi-sweet
- 1 tablespoon coconut oil or vegetable shortening for smoother chocolate coating
Instructions
- Crush the Butterfingers: Place the Butterfinger candy bars in a zip-top bag and crush them into small pieces using a rolling pin or food processor.
- Mix the Filling: In a large bowl, combine the crushed Butterfingers, peanut butter, and powdered sugar. Stir until the mixture is well combined and forms a thick dough.
- Shape the Balls: Roll the mixture into 1-inch balls and place them on a parchment-lined baking sheet.
- Chill: Place the baking sheet in the refrigerator for about 15–20 minutes to firm up the balls before coating them in chocolate.
- Melt the Chocolate: In a microwave-safe bowl, melt the chocolate chips and coconut oil in 30-second intervals, stirring after each interval until smooth.
- Coat the Balls: Using a fork or toothpick, dip each ball into the melted chocolate, ensuring it is evenly coated. Let any excess chocolate drip off before placing it back onto the parchment paper.
- Set the Chocolate: Let the Butterfinger Balls sit at room temperature until the chocolate hardens, or speed up the process by refrigerating them for 10–15 minutes.
- Enjoy: Serve immediately or store in an airtight container in the refrigerator for up to one week.
Variations & Alternatives
- White Chocolate Coating: Swap the milk chocolate for white chocolate for a fun twist.
- Drizzle with Caramel: Add a caramel drizzle on top for extra decadence.
- Almond Butter Substitute: Replace peanut butter with almond butter for a nutty variation.
- Add a Crunch: Mix in some crushed pretzels or graham crackers for added texture.
Common Questions
Can I use crunchy peanut butter?
Yes! Crunchy peanut butter adds an extra layer of texture to the filling.
How do I store Butterfinger Balls?
Store them in an airtight container in the refrigerator for up to a week or in the freezer for up to 3 months.
Can I make these ahead of time?
Absolutely! These are great make-ahead treats, and they taste just as good (if not better) after being stored.
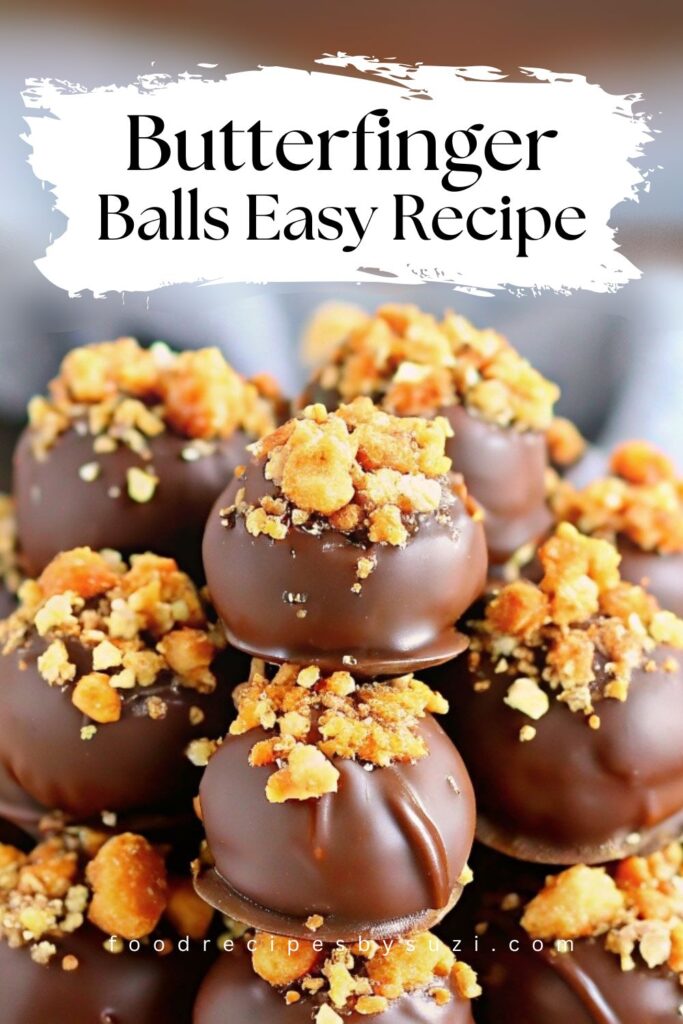
This Easy Butterfinger Balls recipe is a must-try for any dessert lover. Whether you’re making them for a special occasion or just a sweet snack, they’re guaranteed to be a hit. Try them out and let us know how you enjoyed them!


